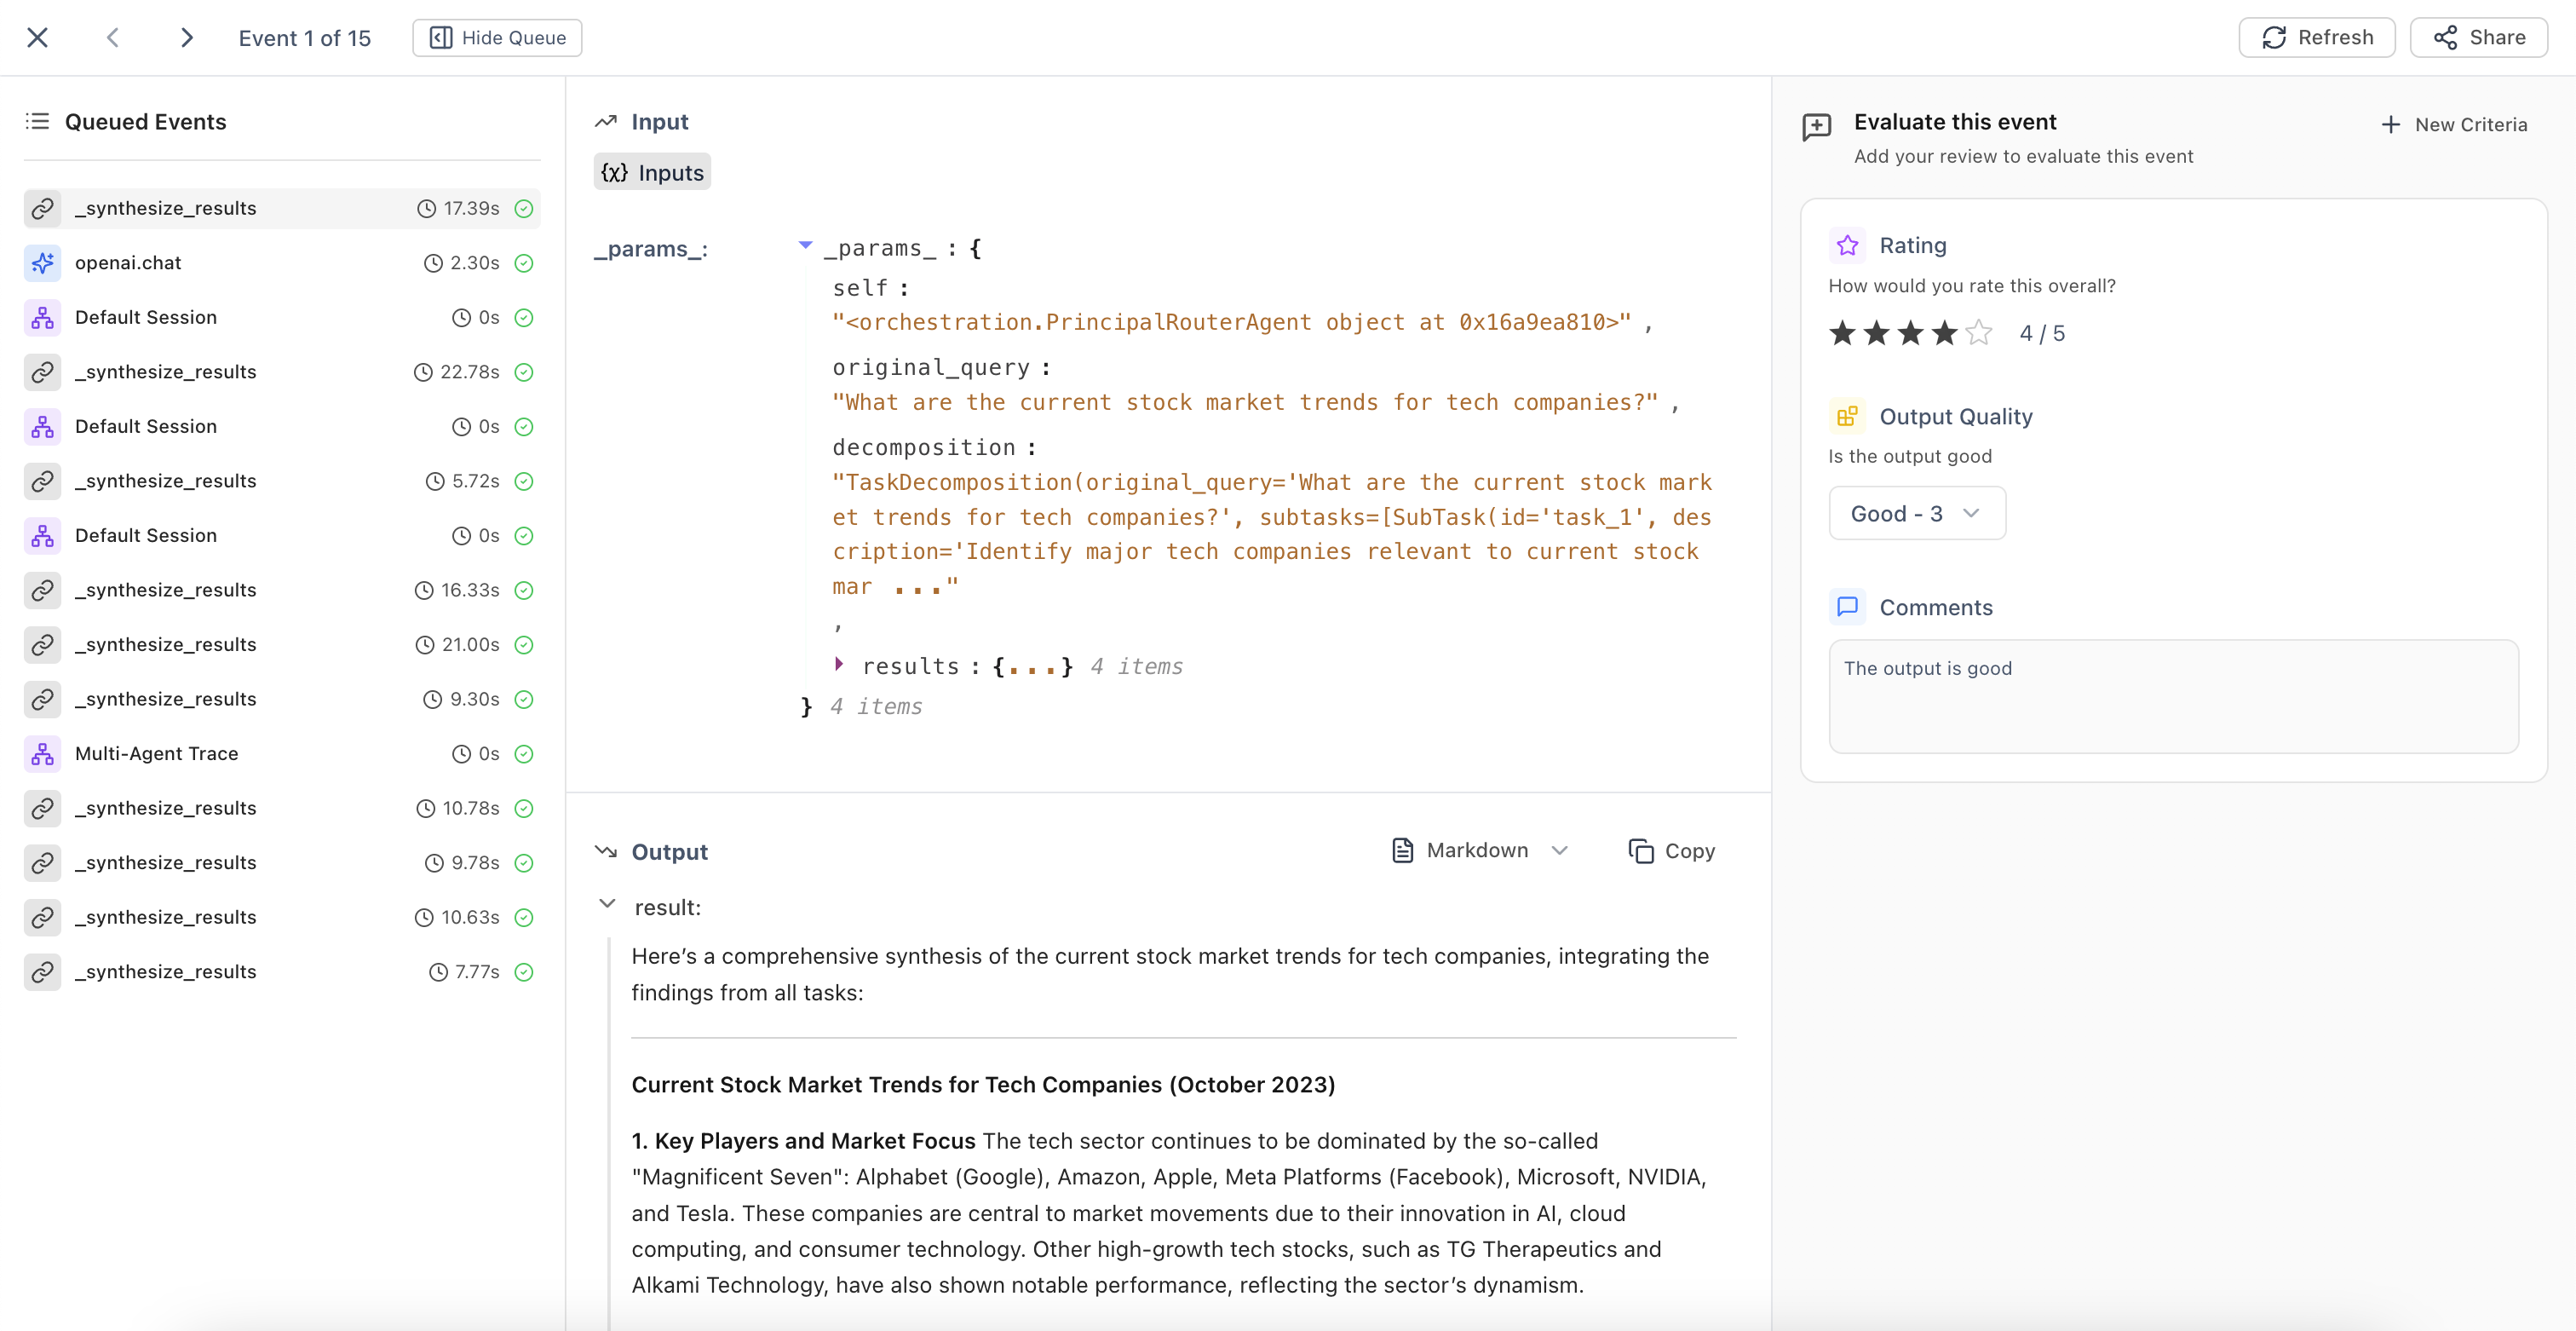
Setting Up Annotation Queues
There are two ways to set up annotation queues: manually adding events or setting up automated rules.Manual Queue Creation
To manually add events to an annotation queue:- Navigate to the Log Store in your project
- Apply filters to identify the events you want to add to the queue
- Select the events you want to include (you can select all matching events)
- Click the Add to dropdown menu
- Select Add to Queue

Automated Queue Creation
For continuous annotation workflows, you can set up automation rules that automatically add matching events to a queue:Option 1: During Manual Selection
- Follow the manual queue creation steps above
- After applying your filters but before adding to queue, ensure your filter criteria are set
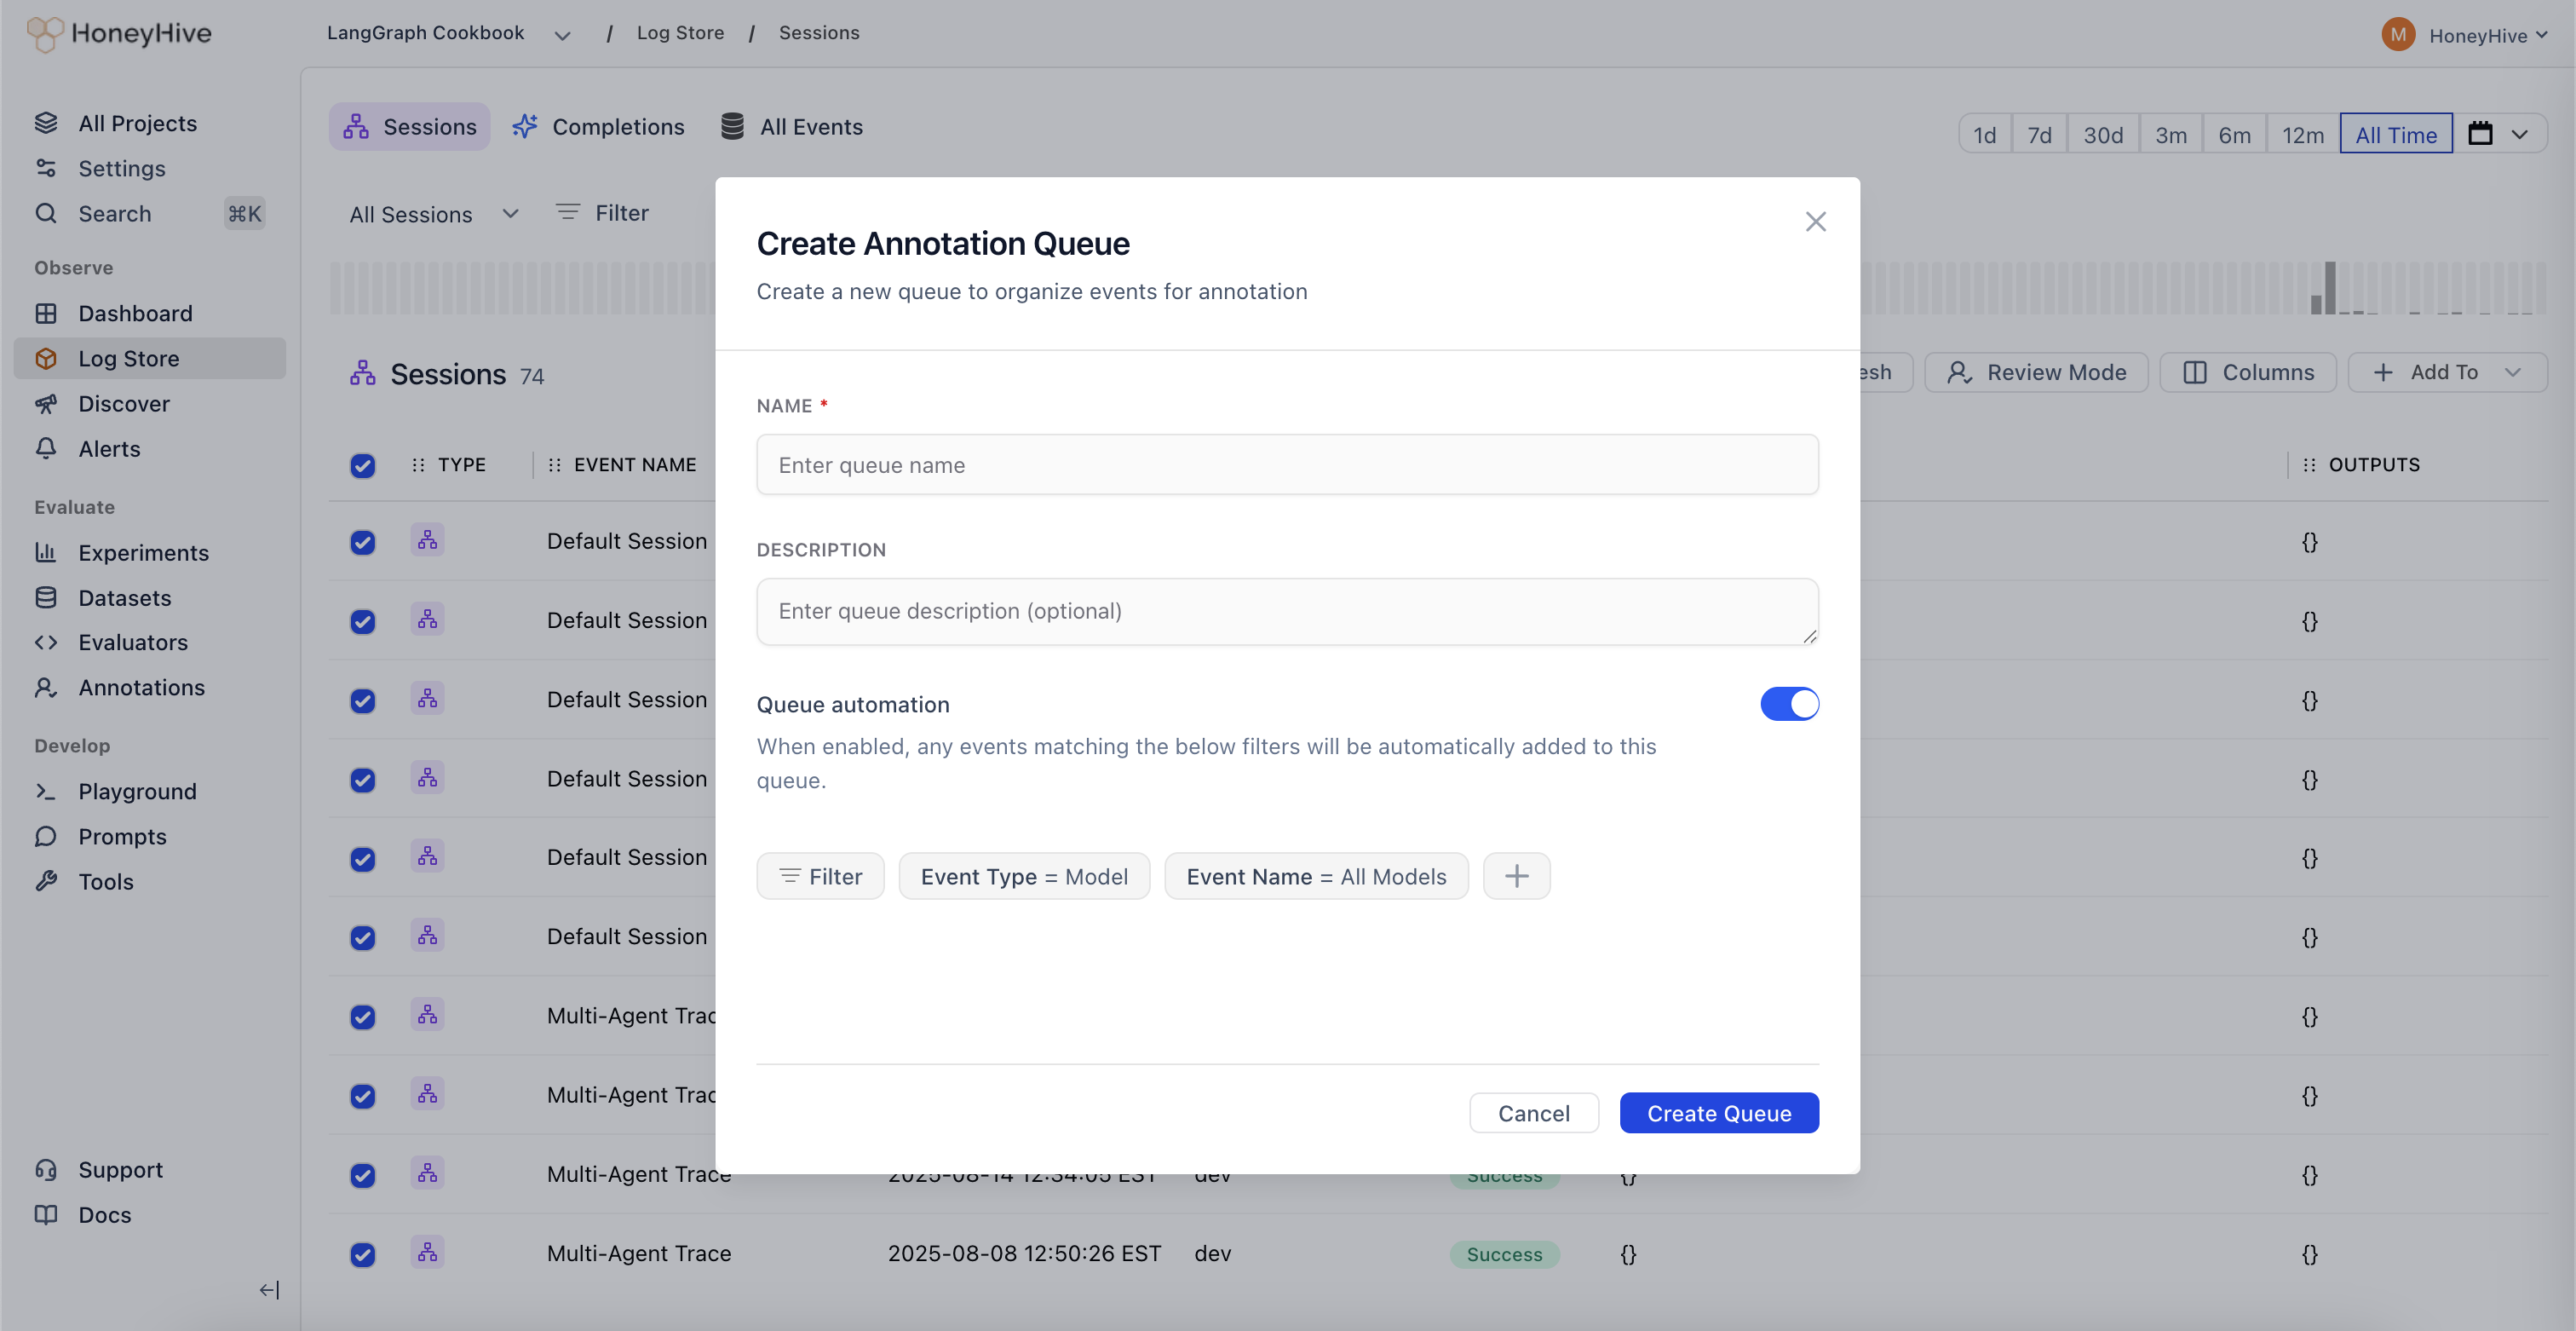
- When creating, toggle the Queue automation checkbox
- Your filters will be saved as automation rules
Option 2: From Annotations Tab
- Navigate to the Annotations tab in your project
- Click Create Queue
- Set up your filter criteria to define which events should be automatically added
- Toggle the Queue automation checkbox
- Save your queue configuration
Use Cases
Annotation queues are particularly useful for:- Quality Assurance: Route low-confidence predictions or edge cases for human review
- Active Learning: Identify and label examples where your model is uncertain
- Compliance Review: Flag sensitive or regulated content for manual verification
- Training Data Curation: Collect and label examples to improve your datasets
- Performance Monitoring: Sample production traffic for ongoing quality assessment
Next Steps
Create Custom Annotation Criteria
Learn how to create human evaluator fields with custom criteria for your annotation workflows

