Human annotation
How to create custom human evaluator fields for annotators to manually review outputs
In this guide, we’ll explore how to create custom human evaluators by defining a simple Conciseness Rating
on the likert scale (1-5), which allows users to manually grade outputs on a custom evaluation criteria.
Creating the evaluator
UI Walkthrough
Use the following UI walkthrough alongside the guide below to create a custom Python evaluator in the HoneyHive console.
Navigate to the evaluator console
Navigating to the Evaluators tab in the left sidebar. Click Add Evaluator
to create a new evaluator and select Human Evaluator
.
Define the criteria
Here, you can provide a description of the evaluation criteria to your annotators. This description will be available to any reviewers when evaluating individual events
or sessions
.
For this example, we will provide a detailed criteria for grading Conciseness
. See below.
1. Relevance: Is the response directly related to the prompt without unnecessary details?
2. Clarity: Is the message clear and easily understandable?
3. Word Economy: Are unnecessary words, phrases, or sentences eliminated?
4. Precision: Does the response use precise language without being vague?
5. Elimination of Filler: Are redundant or filler words removed?
6. Logical Flow: Does the response follow a logical sequence without unnecessary jumps?
7. Brevity vs. Completeness: Is the response concise while still covering all necessary points?
8. Consistency: Does the response maintain consistent conciseness throughout?
9. Engagement: Does the response keep the reader's interest despite its brevity?
10. Overall Impact: Does the response effectively convey the message concisely?
We’ll simply copy and paste the above code in the evaluator console. See below.
Configuration and setup
Configure return type
We currently support the following return types:
Numeric
: Allows grading on a scale of 1-n, where n is theRating Scale
Binary
: Allows grading on a 👍/👎 scaleNotes
: Allows providing free-form text as feedback
Since our evaluator in this example needs to return value between 1-5, we’ll configure it as Numeric
and define Rating Scale
as 5
.
Configure passing range
Passing ranges are useful in order to be able to detect which test cases failed in your evaluation.
We’d ideally want the model to score 4 or 5, hence we’ll configure this as 4 to 5
. This’ll allow us to account for slight errors in judgement made by the evaluator.
Using the evaluator
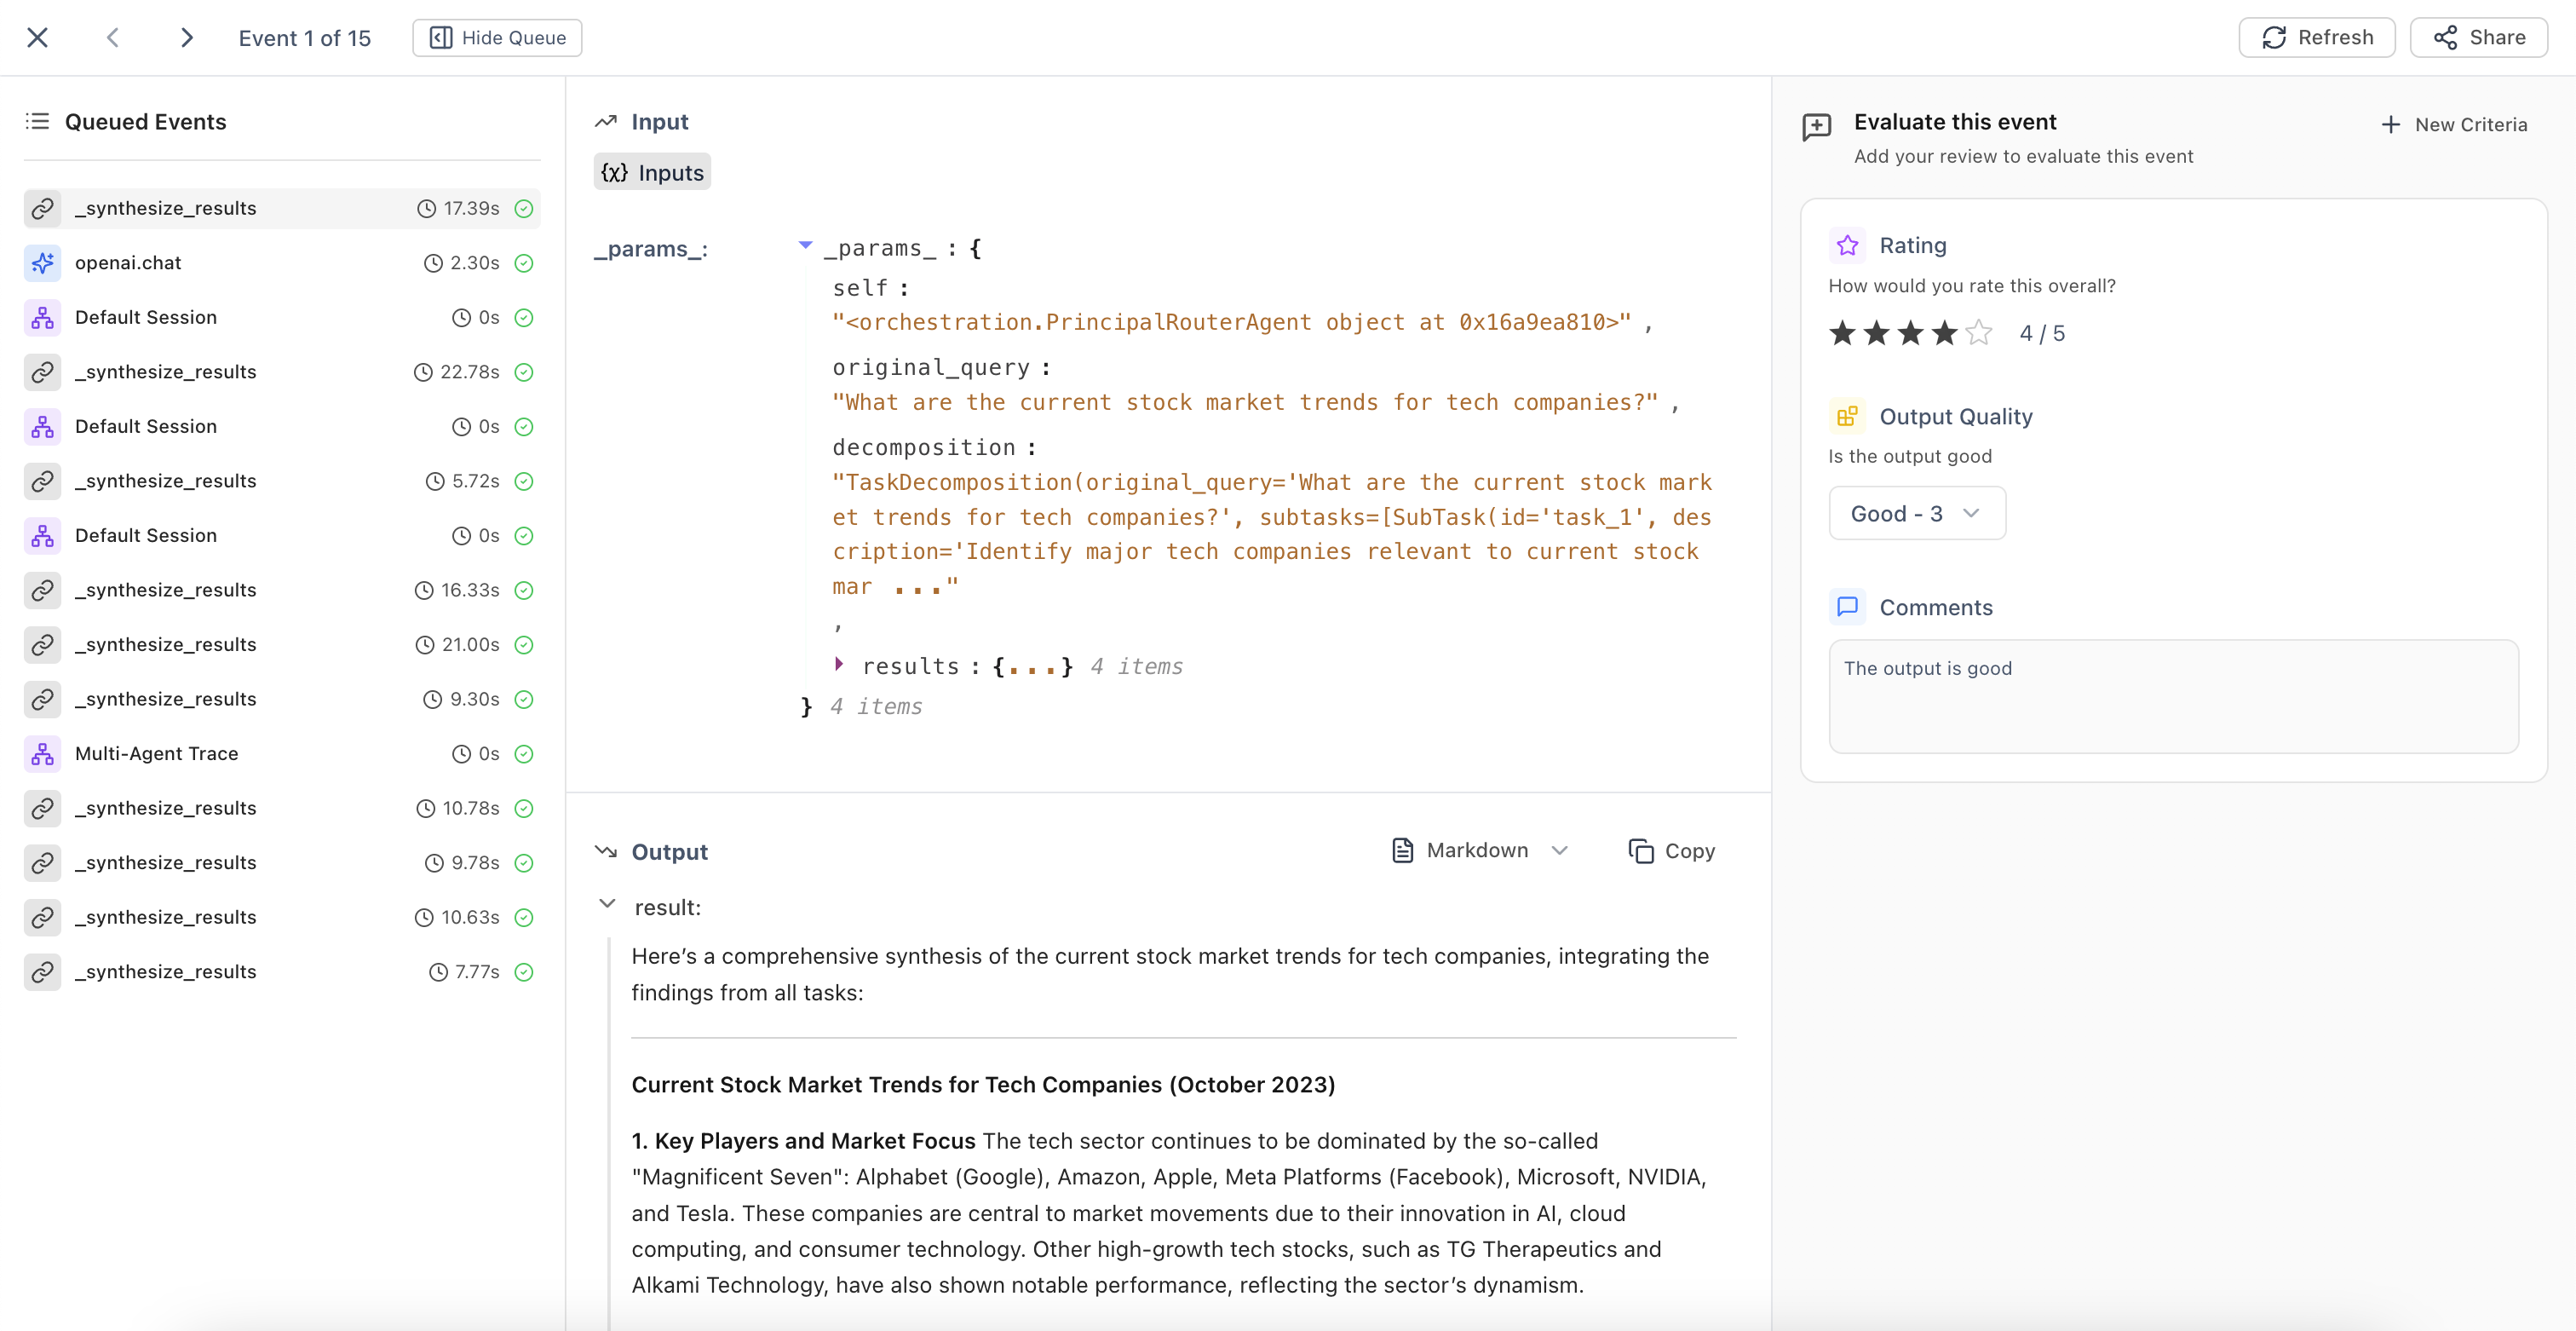
Annotating logs
All evaluators defined here will automatically appear in the trace view under the session
object. You can simply provide feedback on each session
or any event
s / spans within a session. See below.
Data Store
. Use Completions
tab if you’re looking to navigate between LLM requests, and Sessions
tab if you’re looking to navigate between traces. You can use keyboard shortcuts like ⬆️ and ⬇️ to navigate across rows.