In the experiments Quickstart, you learned how to run an experiment using local datasets defined directly on your code. This guide focuses on utilizing datasets managed through the HoneyHive platform. Managed datasets offer several advantages, particularly for team collaboration, as they are centralized and versioned. Though this approach requires some additional initial setup compared to local evaluators, it provides a more robust foundation for collaborative work.

Full code

Below is a minimal example demonstrating how to run an experiment using managed datasets. This assumes you have already created a project and an API key. You will also need to provide a Dataset ID, which will be detailed in the following section.

1

Create your dataset in jsonl format

Let’s first create our dataset in jsonl format. Simply create a file named market_dataset.jsonl and paste the following content:

{"product_type":"electric vehicles","region":"western europe","time_period":"first half of 2023","metric_1":"total revenue","metric_2":"market share","response":"As of 2023, the electric vehicle (EV) market in Western Europe is experiencing significant growth, with the region maintaining its status as a global leader in EV adoption. [continue...]"}
{"product_type":"gaming consoles","region":"north america","time_period":"holiday season 2022","metric_1":"units sold","metric_2":"gross profit margin","response":"As of 2023, the gaming console market in North America is characterized by intense competition, steady consumer demand, and evolving trends influenced by technological advancements and changing consumer preferences. [continue...]"}
{"product_type":"smart home devices","region":"australia and new zealand","time_period":"fiscal year 2022-2023","metric_1":"customer acquisition cost","metric_2":"average revenue per user","response":"As of 2023, the market for smart home devices in Australia and New Zealand is experiencing robust growth, driven by increasing consumer interest in home automation and the enhanced convenience and security these devices offer. [continue...]"}
In addition to JSONL, you can also create JSON or CSV files, as documented here.
2

Upload your dataset to HoneyHive

Now that we have our dataset in the proper format, let’s upload it to HoneyHive. HoneyHive supports 2 ways to upload it: via UI or via SDK. In this guide, let’s do that through the UI:

If you want to know more about uploading datasets to HoneyHive, check our Datasets Documentation Page.

Be sure to save your Dataset ID - we will use it in the last step of this tutorial.

3

Create the flow you want to evaluate

The remaining steps are the same as those seen on Experiments Quickstart. Define the function you want to evaluate:

# inputs -> parameter to which datapoint or json value will be passed
# (optional) ground_truths -> ground truth values for the input
def function_to_evaluate(inputs, ground_truths):

    # Code here

    return result

The inputs and ground_truths fields as defined in your dataset will be passed to this function. For example, in one execution of this function, inputs might contain a dictionary like:

{'product_type': 'gaming consoles', 'region': 'north america', ...}

and ground_truths might contain a dictionary like:

{ 'response': 'As of 2023, the gaming console market...'}

The value returned by the function would map to the outputs field of each run in the experiment and will be accessible to your evaluator function, as we will see below.

4

(Optional) Setup Evaluators

Define client-side evaluators in your code that run immediately after each experiment iteration. These evaluators have direct access to inputs, outputs, and ground truths, and run synchronously with your experiment.

@evaluator()
def sample_evaluator(outputs, inputs, ground_truths):
    # Code here
    import random
    return random.randint(1, 5)

In addition to inputs and ground_truths, the evaluator function has access to the return value from function_to_evaluate, which is mapped to outputs. In this example, outputs would contain a string with the model response, such as:

"As of my last update in October 2023, the gaming console market in North America continued to experience dynamic changes influenced by several factors..."
For more complex multi-step pipelines, you can compute and log client-side evaluators on specific traces and spans directly in your experiment harness.
5

Run experiment

Finally, you can run your experiment with evaluate:

from honeyhive import evaluate
from your_module import function_to_evaluate

if __name__ == "__main__":
    evaluate(
        function = function_to_evaluate,
        hh_api_key = '<HONEYHIVE_API_KEY>',
        hh_project = '<HONEYHIVE_PROJECT>',
        name = 'Sample Experiment',
        # Pass one of the below parameters
        dataset_id = '<DATASET_ID>',       # to be passed for datasets in HoneyHive Cloud
        # Add evaluators to run at the end of each run
        evaluators=[sample_evaluator, ...]
    )

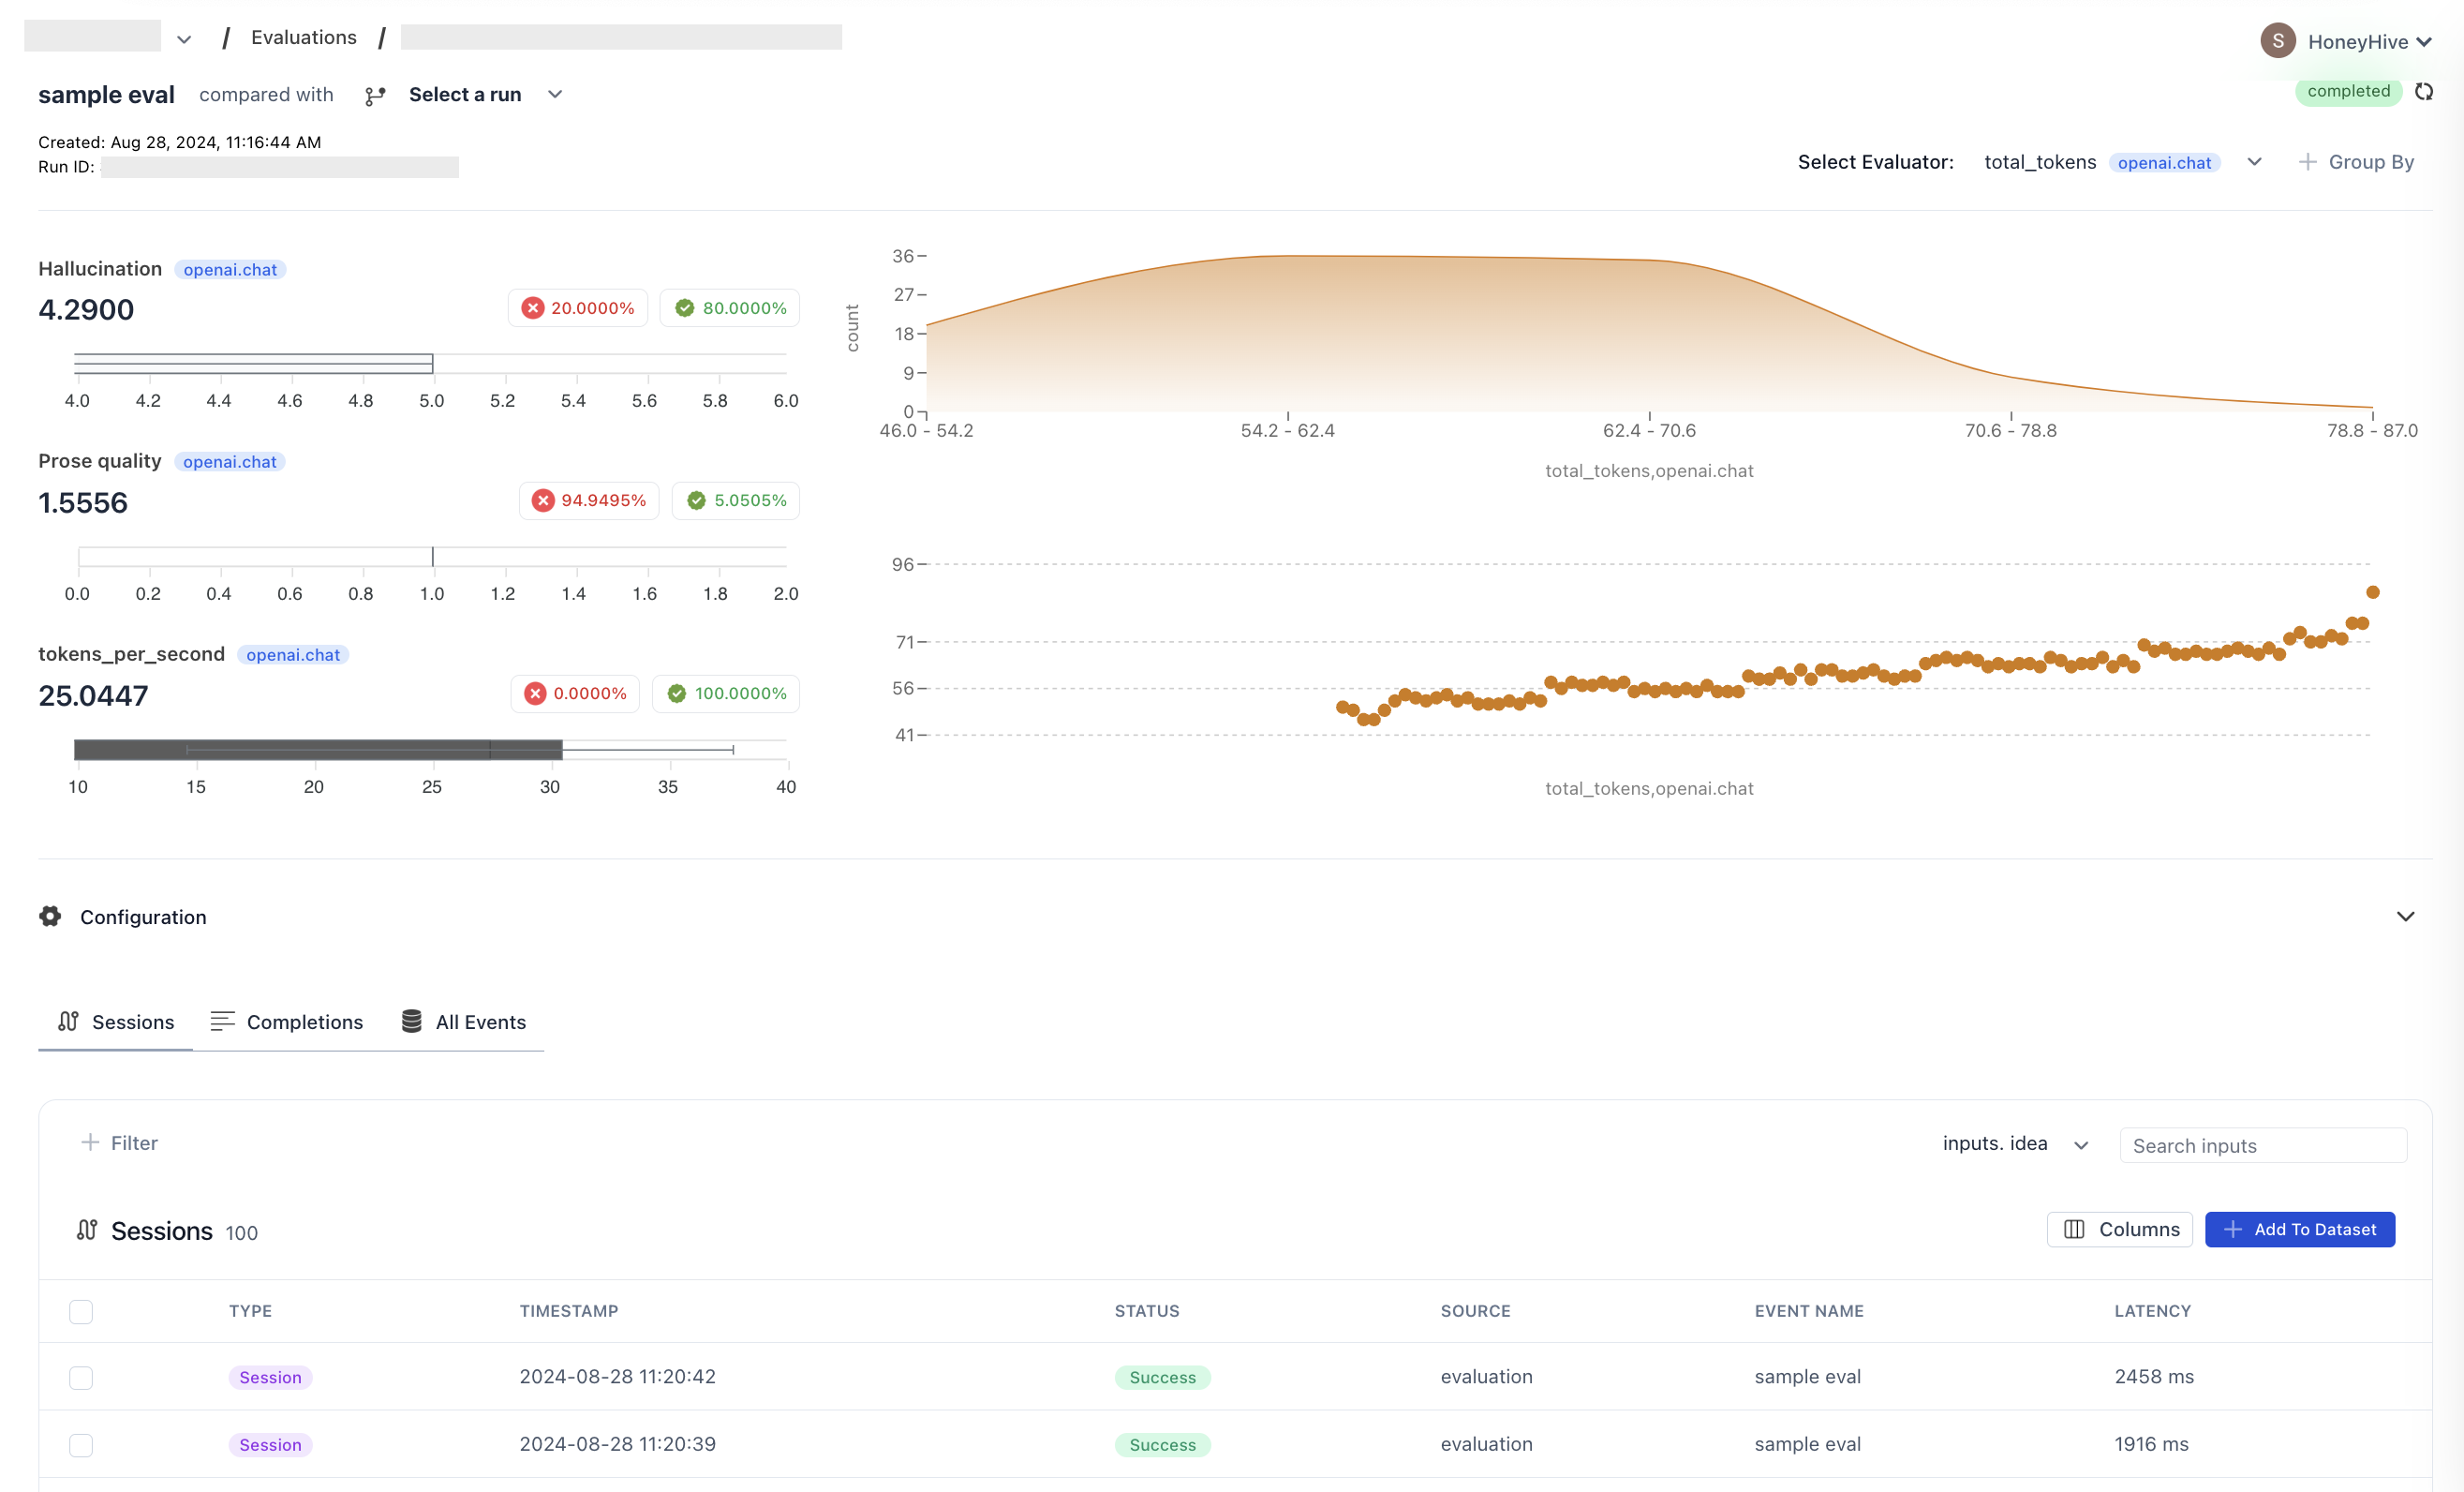
Dashboard View

Remember to review the results in your HoneyHive dashboard to gain insights into your model’s performance across different inputs. The dashboard provides a comprehensive view of the experiment results and performance across multiple runs.
Conclusion

By following these steps, you’ve learned how to run experiments using HoneyHive’s server-side evaluators. This approach offers centralized evaluation management, scalability, and version control, making it easier to handle complex or resource-intensive evaluations while maintaining consistent standards and enabling seamless collaboration across your team.