Quickstart
Get started with running experiments with HoneyHive
Running experiments is a natural extension of the tracing capabilities of HoneyHive. We recommend you to go through the tracing quickstart before proceeding with this guide.
Full code
Here’s a minimal example to get you started with experiments in HoneyHive:
Running an experiment
Prerequisites
- You have already created a project in HoneyHive, as explained here.
- You have an API key for your project, as explained here.
Expected Time: 5 minutes
Steps
Setup input data
Let’s create our dataset by inputting data directly into our code using a list of JSON objects:
inputs
and ground_truths
fields will be accessible in both the function we want to evaluate and the evaluator function, as we will see below. Define the function you want to evaluate
Define the function you want to evaluate. This can be arbitrarily complex, anywhere from a prompt or a simple retrieval pipeline, to an end-to-end multi-agent system:
Important Note About Parameters
The function parameters are positional arguments and must be specified in this order:
inputs
(first parameter): dictionary of parameters from your datasetground_truths
(second parameter): optional ground truth dictionary
The value returned by the function would map to the outputs
field of each trace in the experiment and will be accessible to your evaluator function, as we will see below.
(Optional) Setup Evaluators
Define client-side evaluators in your code that run immediately after each experiment iteration. These evaluators have direct access to inputs, outputs, and ground truths, and run synchronously with your experiment.
Important Note About Evaluator Parameters
The evaluator parameters are positional arguments and must be specified in this order:
outputs
(first parameter): the output returned by the evaluated functioninputs
(second parameter): the original input dictionaryground_truths
(third parameter): the ground truth dictionary
Run experiment
Finally, you can run your experiment with evaluate
:
If you are using a self-hosted or dedicated deployment, you also need to pass:
server_url
: The private HoneyHive endpoint found in the Settings page in the HoneyHive app.
Dashboard View
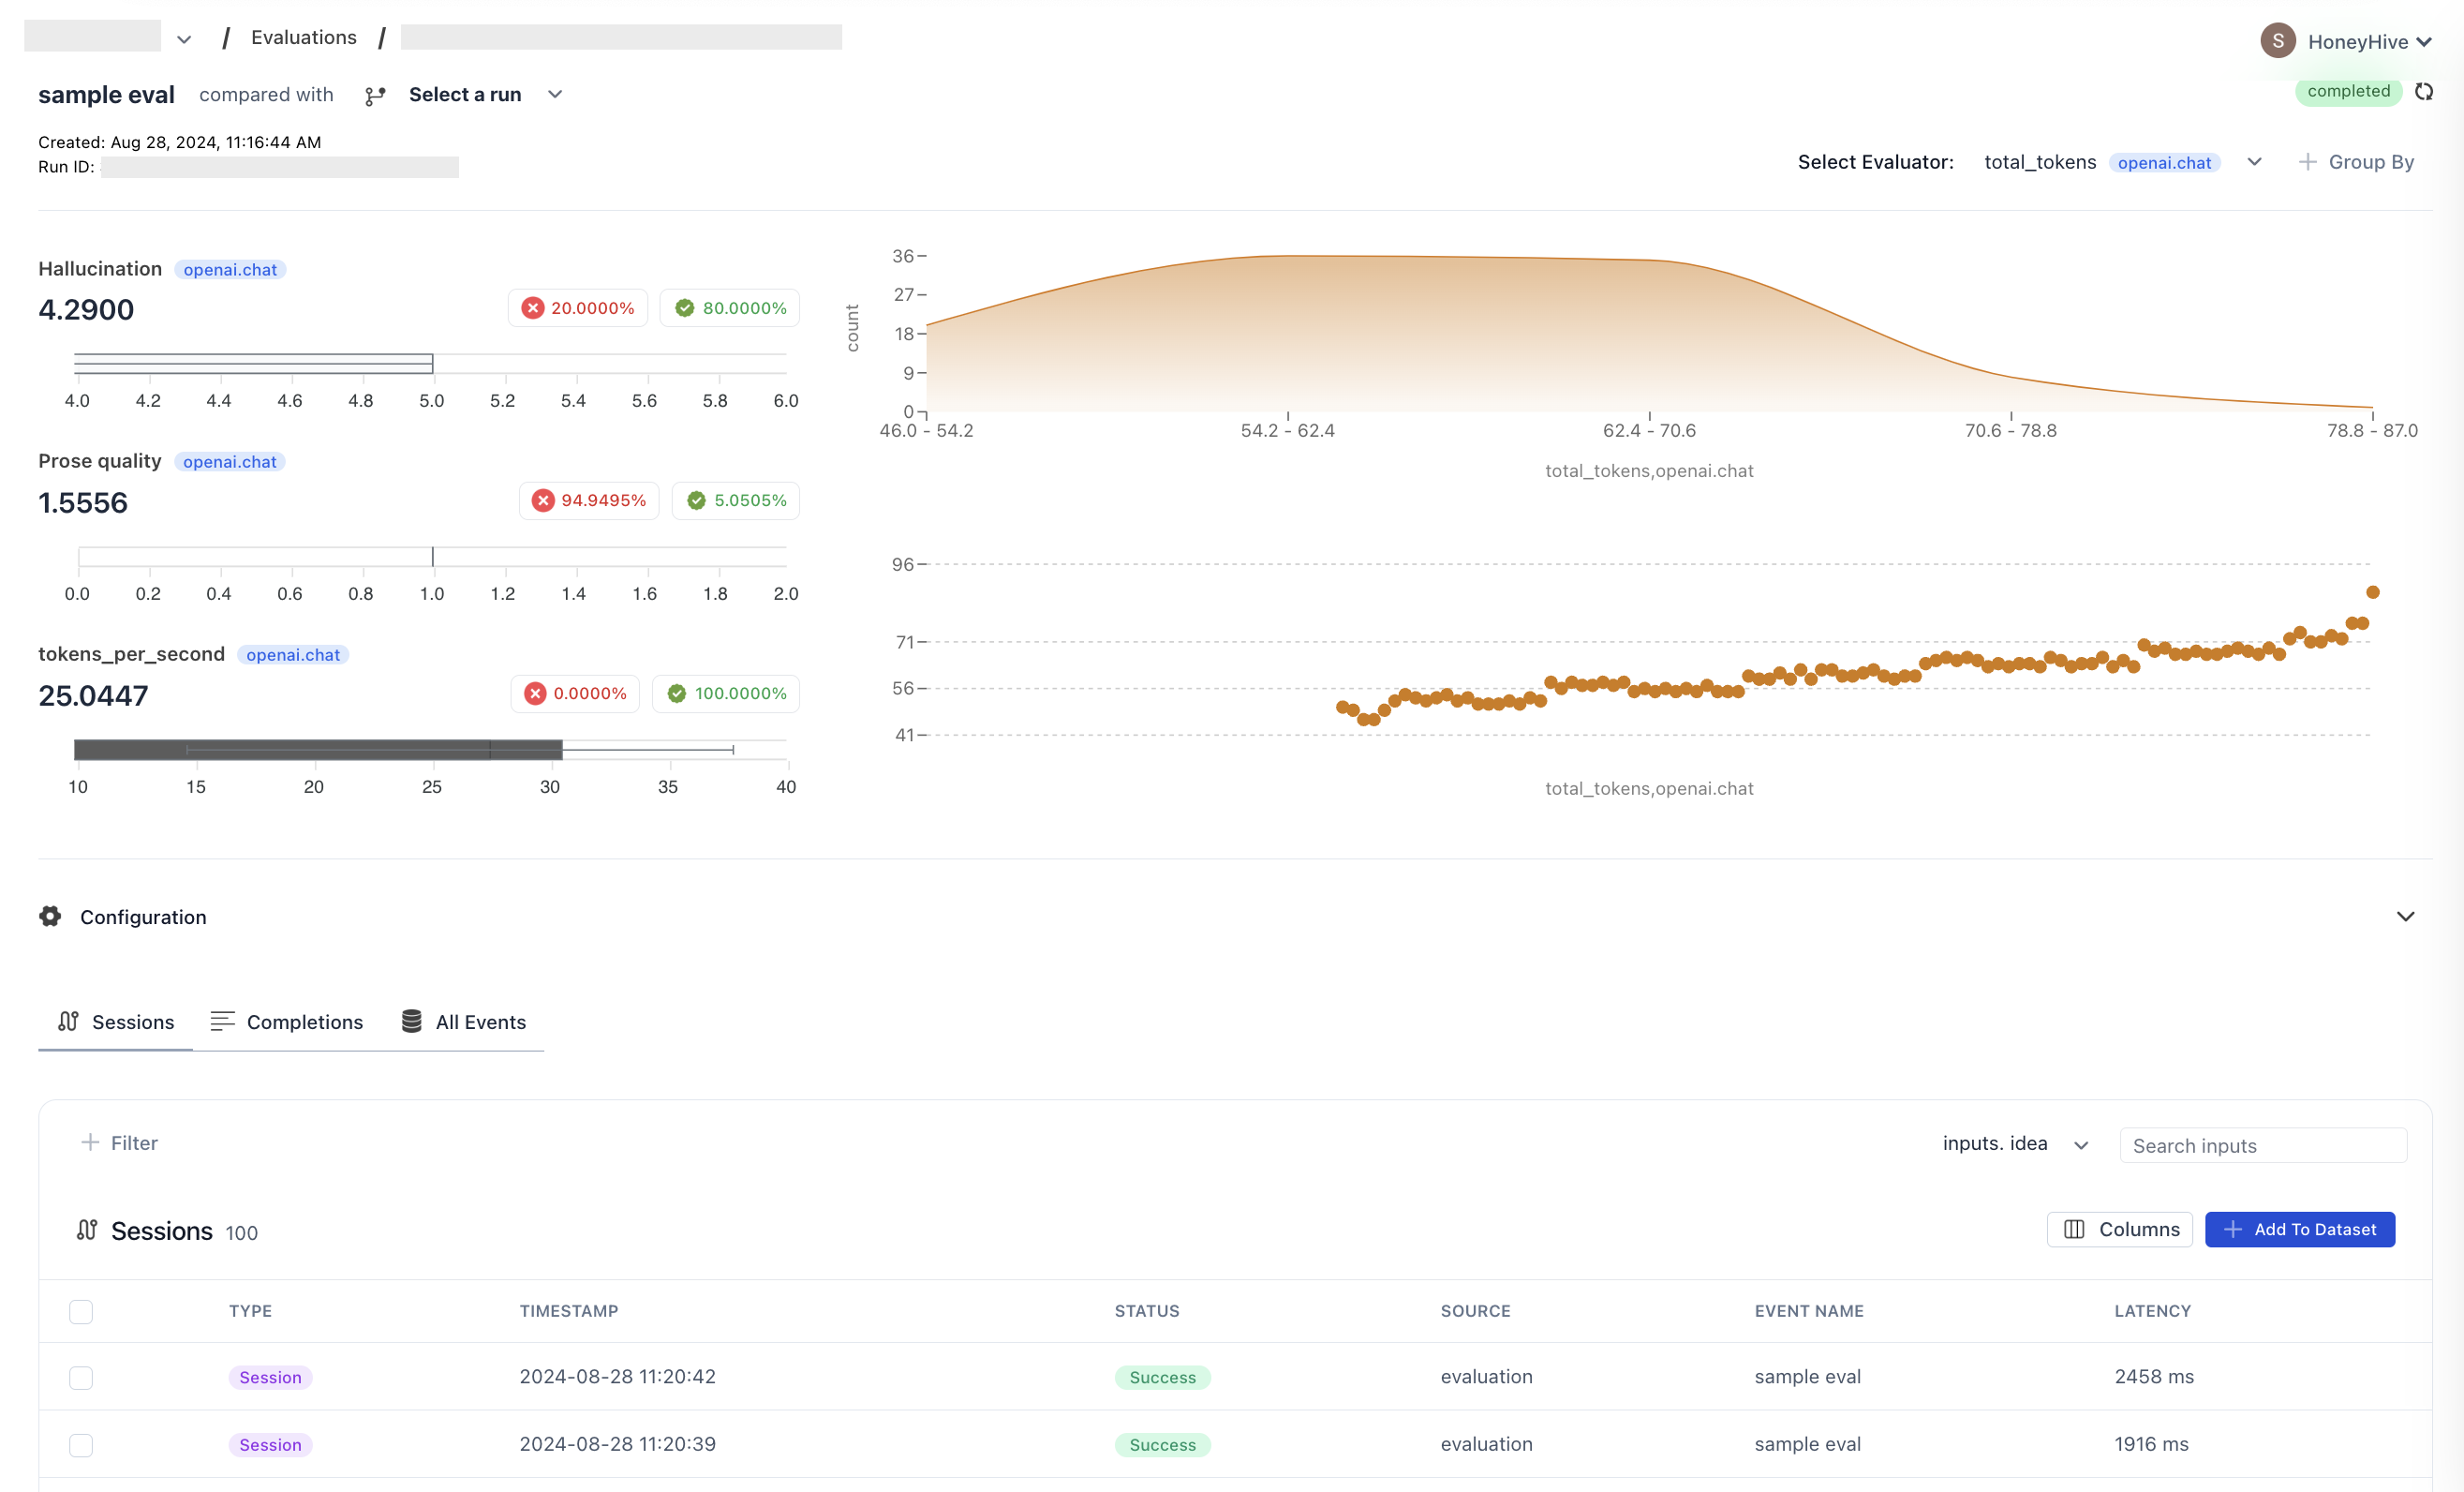
Remember to review the results in your HoneyHive dashboard to gain insights into your model’s performance across different inputs. The dashboard provides a comprehensive view of the experiment results and performance across multiple runs.
Conclusion
By following these steps, you can set up and run experiments using HoneyHive. This allows you to systematically test your LLM-based systems across various scenarios and collect performance data for analysis.
Next Steps
If you are interested in a specific workflow, we recommend reading the walkthrough for the relevant product area.
Introduction to Evaluators
Learn how to evaluate and monitor your AI applications with HoneyHive’s flexible evaluation framework.
Comparing Experiments
Compare experiments side-by-side in HoneyHive to identify improvements, regressions, and optimize your workflows.
Running Experiments with HoneyHive's managed datasets
Run experiments using HoneyHive’s managed datasets, enabling centralized dataset management and version control.
Running Experiments with HoneyHive's server-side evaluators
Server-side evaluators are centralized, scalable, and versioned, making them ideal for resource-intensive or asynchronous tasks.
Full code
Here’s a minimal example to get you started with experiments in HoneyHive:
Running an experiment
Prerequisites
- You have already created a project in HoneyHive, as explained here.
- You have an API key for your project, as explained here.
Expected Time: 5 minutes
Steps
Setup input data
Let’s create our dataset by inputting data directly into our code using a list of JSON objects:
evaluate
function.Create the flow you want to evaluate
Define the function you want to evaluate in your experiment:
Important Note About Parameters
The function parameters are positional arguments and must be specified in this order:
inputs
(first parameter): dictionary of parameters from your datasetground_truths
(second parameter): optional ground truth dictionary
The value returned by the function would map to the outputs
field of each run in the experiment.
(Optional) Setup Evaluators
Define client-side evaluators in your code that run immediately after each experiment iteration. These evaluators have direct access to inputs, outputs, and ground truths, and run synchronously with your experiment.
Important Note About Evaluator Parameters
The evaluator parameters are positional arguments and must be specified in this order:
outputs
(first parameter): the output returned by the evaluated functioninputs
(second parameter): the original input dictionaryground_truths
(third parameter): the ground truth dictionary
Run experiment
If you are using a self-hosted or dedicated deployment, you also need to pass:
server_url
: The private HoneyHive endpoint found in the Settings page in the HoneyHive app.
Dashboard View
Remember to review the results in your HoneyHive dashboard to gain insights into your model’s performance across different inputs. The dashboard provides a comprehensive view of the experiment results and performance across multiple runs.
Conclusion
By following these steps, you can set up and run experiments using HoneyHive. This allows you to systematically test your LLM-based systems across various scenarios and collect performance data for analysis.
Next Steps
If you are interested in a specific workflow, we recommend reading the walkthrough for the relevant product area.